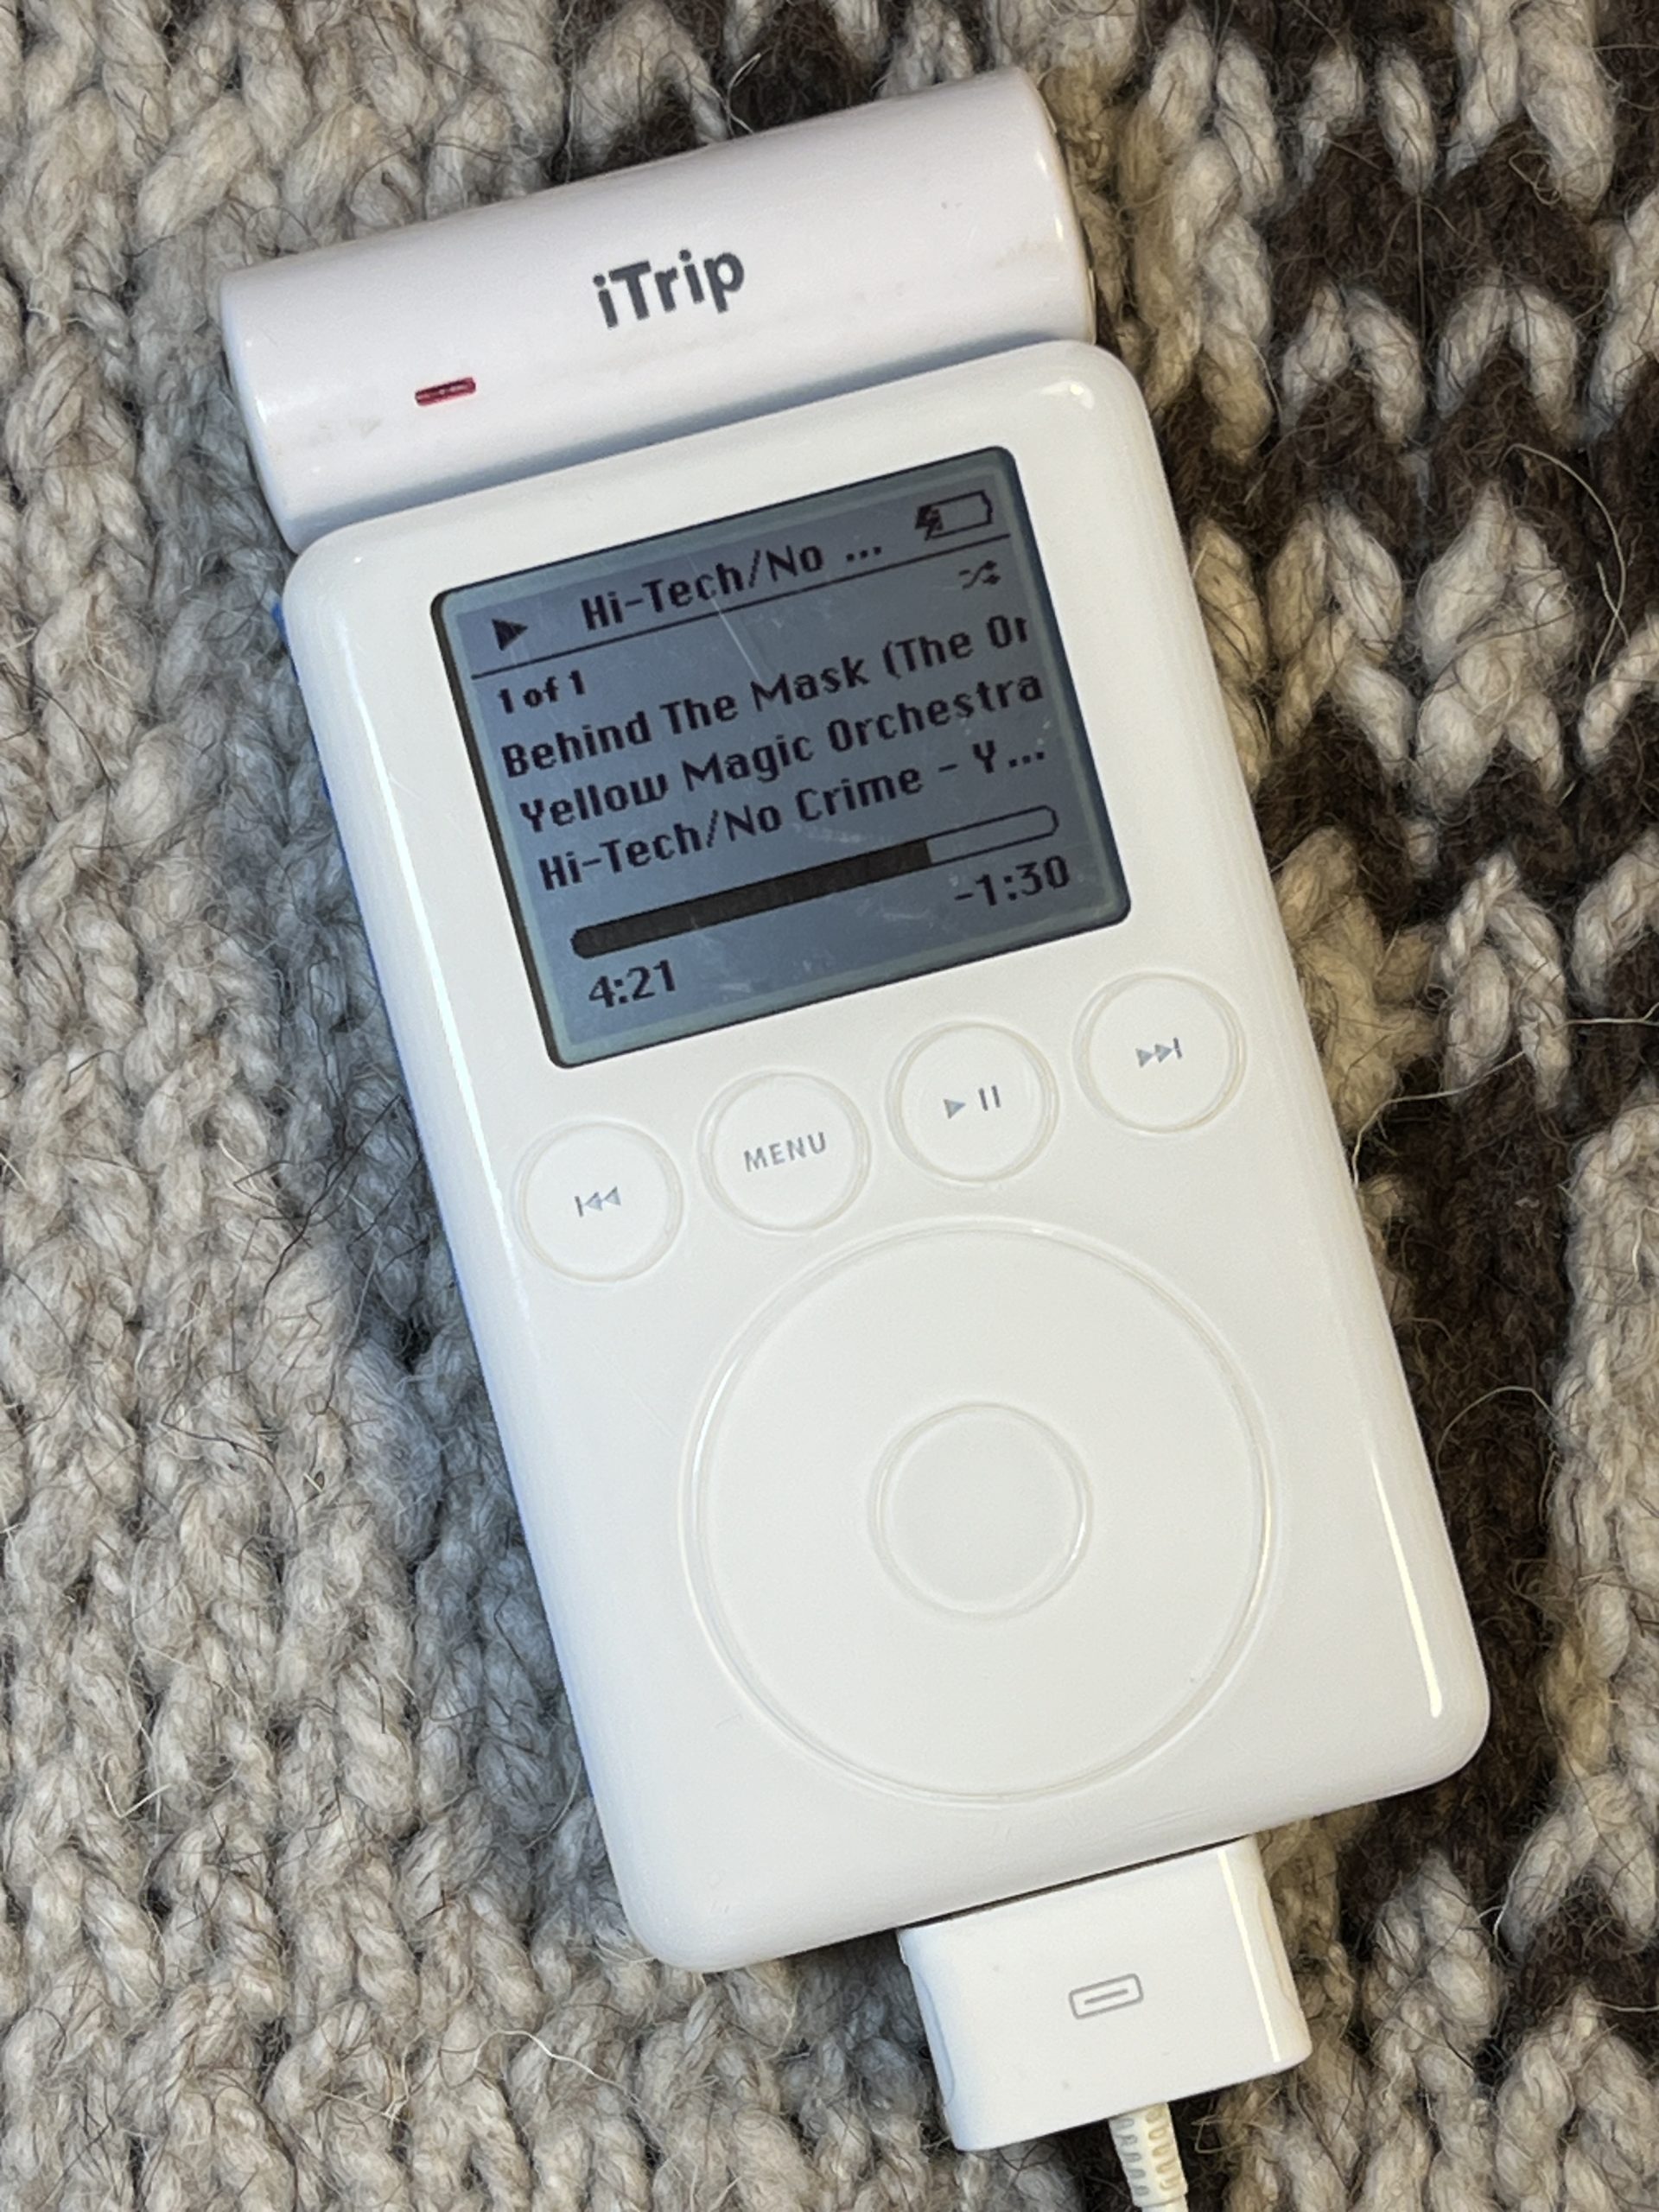
Pushing AppleTalk Across the Internet

Seasoned Apple Macintosh pros have likely experienced the joy (and sadness) of using a large AppleTalk network. You know, the kind where the Chooser suddenly shows a Zone menu at the bottom left where there used to be none? When you first see it, it’s a shock– like you’ve suddenly unlocked a secret power up that your Mac has had all along.

The Zone menu shows when there’s an AppleTalk Router on your network. If you have just a couple of Macs linked together over LocalTalk cabling or Ethernet, you’ve likely not seen it. It’s how AppleTalk segments networks into smaller chunks. I’m by no means an AppleTalk network expert and there are likely others that know much more than me. I know just enough to be dangerous.

Fast forward to #MARCHintosh, the yearly event that celebrates the classic Macintosh, and Dan ???? on Mastodon mentions the idea of using some software to print to someone else’s remote ImageWriter II, in their home, over the network. I immediately volunteered as tribute and we began trying various things. We first tried using an AppleTalk VPN but couldn’t get it to compile. Maybe you can?

Next, we have Apple’s own Apple Internet Router 3.0 (AIR) from 1993 a try. It can bridge LocalTalk and EtherTalk on your local network (which is handy all by itself) plus, with the appropriate extension, tunnel it over IP to another machine running the same.

Prepare your Mac

Here’s the steps we used to create a working AIR installation. We are using LC form factor machines with Ethernet cards installed in the PDS slot. Other machines may also work but have not been tried. H/t to Dan ???? for figuring out the order of operations!

  1. Start with a fresh install of System 7.1.
  2. Install System Update 3.0.
  3. Install Apple Internet Router 3.0.
  4. Install Router IP extension.
  5. Install Network Software Installer 1.4.5.

Configure your Mac

Let’s configure your Mac.

  1. Open the Sharing Setup Control Panel. Turn on File Sharing if you want to share your computer’s files with others. Turn on Program Linking if you want to use applications like HyperCard across networks.
  2. If you want to allow Guests to your machine, open Users & Groups, double click on Guest and select the permissions you wish. Close and save.
    Note: Enabling Guest access will give anyone access to your machine and the ability to make changes. Choose wisely!
  3. Open the MacTCP Control Panel. Set your Mac to a static IP address on your network. Make sure the router and subnet mask are set correctly. Close the window to save.
  4. Open the Network Control Panel. Make sure “Ethernet” is selected (not EtherTalk!). Close the window to save.

Configure Apple Internet Router

Next, start the Router Manager (part of Apple Internet Router). Follow these steps to configure the router:

  1. Double click on EtherTalk under Ethernet (Slot 6). Set Port status: Active, Port: Seed, Network Range: X-Y, Add a new Zone Name (can be anything), click add. Click Define.
    Note: the X-Y Network Range is important! It must be a unique range for your network and cannot be the same as anyone else you connect to. This may take some coordination. A range of about 10 is more than sufficient (i.e. 30-39).
  2. Double click IP Tunnel: Port status: Active, Host ID: (insert the IP address of the remote Apple Internet Router hosts.)
    Note: Uncheck the box for “Use only the host IDs listed” if you want to accept connections from any other server, not just the ones you have listed.
  3. If you have a LocalTalk network, connect it to your Printer Port. Double click Printer Port LocalTalk. Set Port status: Active, Port: Seed, Network Number: x, Enter a new Zone name, click Define.
    Note: again, make sure the network number is not used amongst other routers you connect to.
  4. You should not configure the Ethernet/EtherTalk option as this is likely the BlueSCSI DaynaPORT emulation. I’ve yet to get this to work.
    Update: Vlado Vince was able to get BlueSCSI DaynaPORT emulation working with Apple Internet Router!
  5. Save your Router document to your drive and give it a name. Next, choose the Control menu and select Set Startup. Chose the document you just saved.

Configure your network

Next, if your Internet connection is behind a NAT, you need to map a port on your home/work Internet router to allow the other folks using AIR to route traffic to you. They’ll also do the same on their router. Map UDP 387 outside to UDP port 387 inside to the IP address of your Mac running AIR.

If you’re unlucky and are behind carrier grade NAT (CGNAT), there’s still hope! We tried a Oracle Cloud VPN instance and then TailScale VPN service but were all unsuccessful in the correct incantation to make it work. I then wrote a Python script that allows one behind a CGNAT to connect to someone that has port mapping ability to tunnel the UDP data over a single TCP connection. I’ll be releasing this shortly.

Start it up

Finally, in the Router Manager, start the router by choosing Control menu -> Start, save the doc, it should start up! You can monitor the network by choosing Windows -> Network Information. If you have other devices on your LocalTalk or EtherTalk network, they will be re-assigned new network numbers by your router.

Open the Chooser and you should now see additional Zones (your own and anyone else you’ve connected with). Note: the Chooser will refresh the zone list periodically. To force a refresh, close and reopen.

Connect all the things

If you have an ImageWriter II with a LocalTalk card, connect it to your LocalTalk network.

If you have a EtherTalk capable HP printer, connect it to your Ethernet network.

If you have other Macs on your network, turn then on and enable File Sharing if you want to share with others.

Print to other folk’s printers! Share files over AppleShare!

But most importantly, have fun!

Joining the #GlobalTalk network

I’ve created a Google Sheet to track everyone who is participating in the #GlobalTalk network experiment. To keep information private and to limited view, Mac84 is now adding people as editors to the document. Please visit the GlobalTalk page for more information on how to join.

Macintosh Emulation and Printing using Mini VMac on a PocketCHIP

Alternate title: I want to print from an emulated Mac on a pocket computer to my ImageWriter II over AppleTalk.

I’ve had a PocketCHIP for several years now. I picked it up right after the Kickstarter campaign was finished sometime in 2016/2017. It’s a great little Linux-based handheld device that combines a lot in one package (touch display, keyboard, storage, battery, sound, USB port, WiFi, Bluetooth, etc.). The novelty wore off and I stowed it away in a box. The company Next Thing Co. went out of business shortly thereafter in March 2018.

Continue reading

Self Referential Pen Plotter Floppy Disks

In November 2021, I posted a short video on Twitter of my Roland DXY 1150 pen plotter drawing a generative wobbly circle design on top of a 5.25″ floppy disk. A few people responded that they would buy one of the floppies. This got me thinking about the medium of a floppy disk that I was using.

Continue reading

Commodore PET 2001 Repair

(This was originally a Twitter thread from November 6, 2017.)

November 6, 2017

A huge box has just arrived! And inside are lots and lots of packing peanuts. Wait, wait, there’s something else in here. It looks like it’s from the future.

Say 10 PRINT”HELLO WORLD” to the Commodore PET 2001 from 1977, one of the “trinity” personal computers. Big thanks to @FozzTexx!

Continue reading

Welcoming (back) a LaserWriter II

July 31, 2022

Welcoming a new (old) printer (back) into my fleet: a LaserWriter II. It’s a workhorse of a printer from 1988 dressed in Snow White design language. #RetroComputing

(This is an experimental post to attempt to convert a Twitter thread into a WordPress post).

Continue reading

Hayes InterBridge

The Hayes InterBridge is “an inter-connecting ‘bridge’ that allows users of an AppleTalk network to tie into other AppleTalk networks.” This niche product was sold by Hayes in 1987 for $799 retail. There’s not a lot of information about this device left around so this page is an attempt to collect what I can find.

Continue reading

Making DOS and CP/M 5.25″ Boot Disks with Commodore 128 and 1571 Floppy Drive

Did you recently get a new MS-DOS, KayPro IV, or Osborne 1 computer but no boot floppies?

If you have a Commodore 128 and a 1571 floppy drive, you might already know that you can read and write certain CP/M floppy formats while in CP/M mode. This is because the 1571 floppy drive can read and write two types of disk encoding schemes. GCR (Commodore, Apple, etc.) and MFM (common on CP/M and DOS platforms).

Continue reading

Modern Upgrades for the Hayes Chronograph

Hayes Chronographs

Until recently, I had no idea what a Hayes Chronograph was. I didn’t even know it existed until Bill Lange (@BillLange1968) posted a picture of one on Twitter that linked to a wonderful article he wrote about them. The name Hayes was instantly recognizable though, being the inventors of the Hayes “AT” Command set that has found a way into just about every modem since. The shape was also familiar, a bigger version of the same case used in their Smartmodem 300. This was different. It had a beautiful vacuum fluorescent display (VFD) that was showing the current time and day of the week. I was hooked. I needed to buy this. What a wonderful trophy from the soon to come BBS halcyon days.

Continue reading