The Macintosh Portable was Apple’s first foray into mobile computing. This early laptop, err, luggable, weighed in at 16 lbs due to the 6V sealed lead-acid battery and desktop floppy and hard drives. But because of this, the Snow White designed case is roomy inside and a prime candidate for a overhaul.
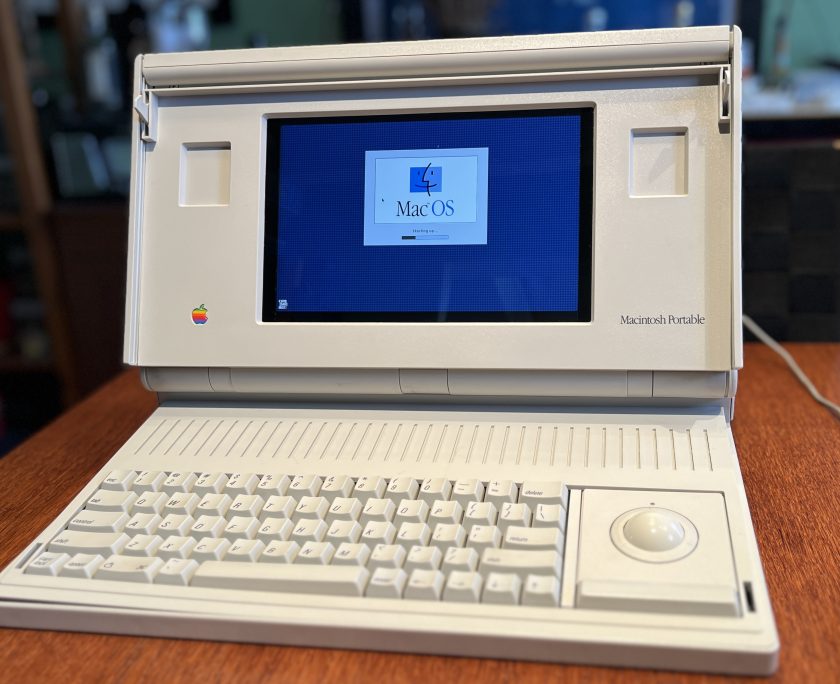

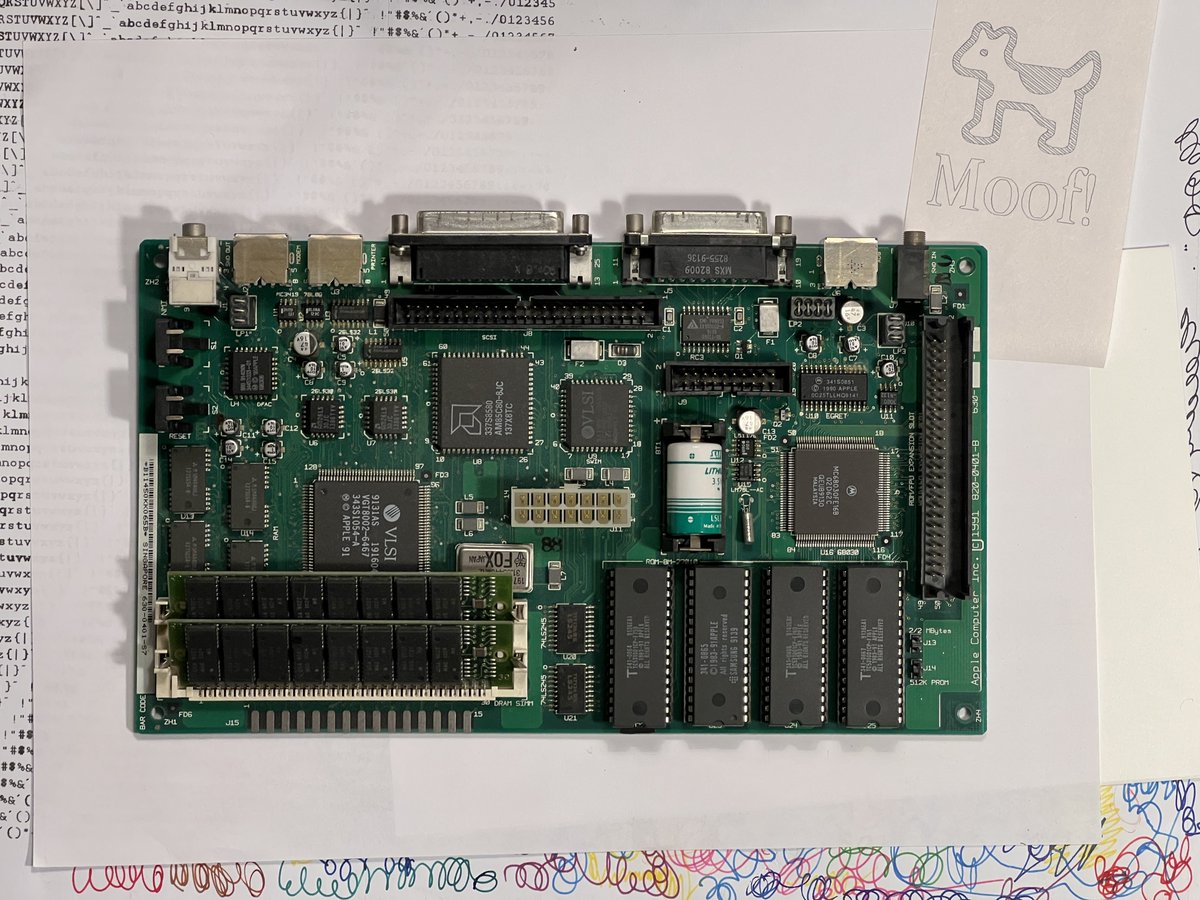
My particular Macintosh Portable M5120 is the non-backlit version. It came with one floppy and a hard drive and retailed for $7,300 in 1989. I’ve tried over the course of several years to get this machine working. I’ve replaced the leaky capacitors on the motherboard, cleaned it in an ultrasonic bath several times, and tried two different hybrid modules but nothing was able to get this machine running again.
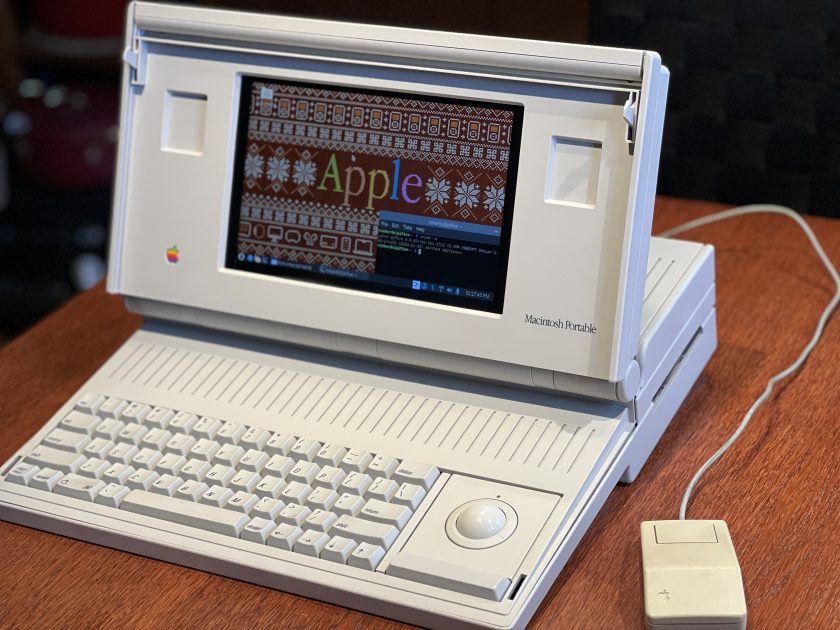
My goal is to give this beautiful machine a new lease on life while at the same time keeping the appearance the same and not making any permanent modifications to the case. I want it to look and work as close to the original Macintosh Portable (including the floppy drive!) while also having the capability of running a modern OS. The internal components have been removed and stored properly in the event there’s a new method for repair in the future.
Let’s get to the build!
Continue reading