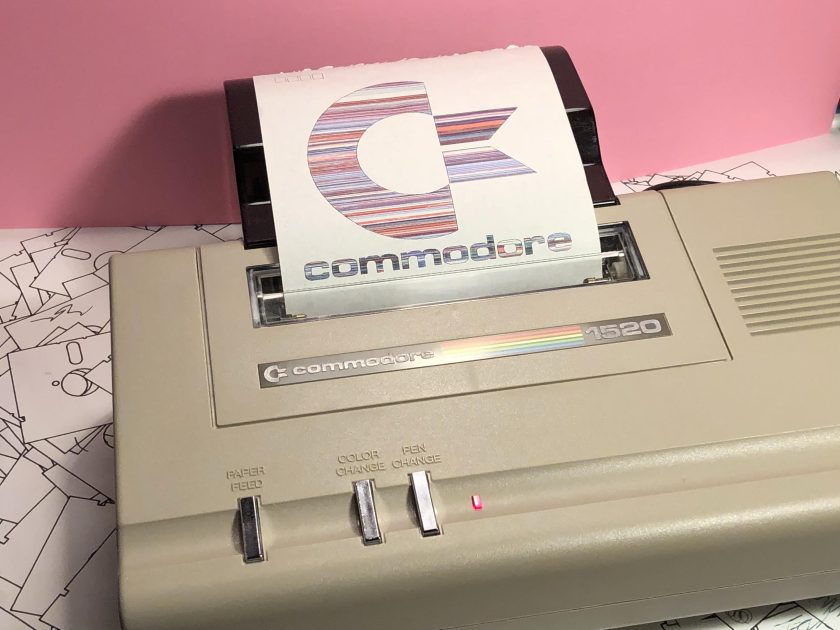
Amazing to think I’ve been playing with pen plotters for over 10 years (longer if you count my first plotter, the Commodore 1520 with my VIC-20). What started out as a curiosity has continued to keep me engaged as a retro computing enthusiast and captivated as an artist. I thought I’d go back in time with some of the plotters I’ve used in various ways.
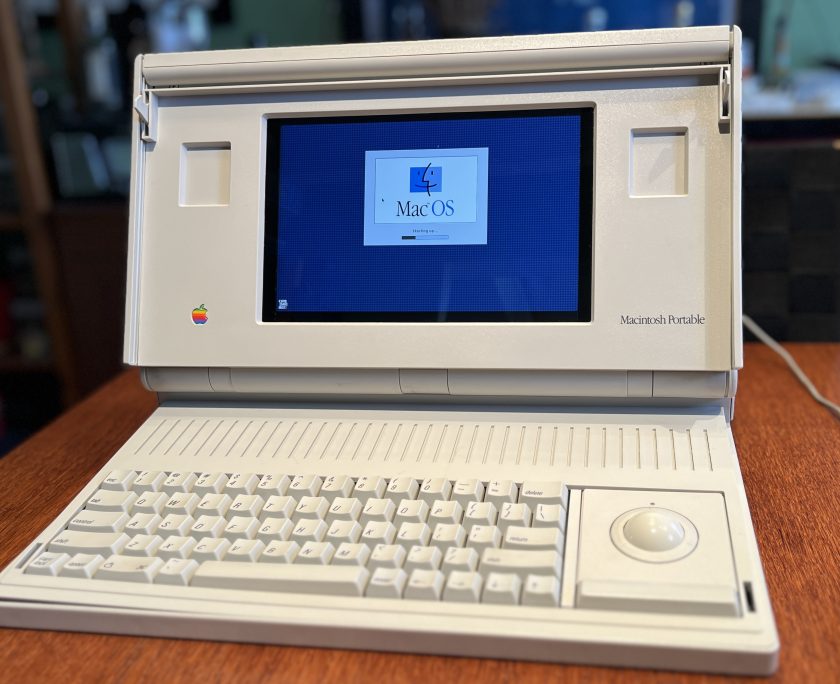
The Macintosh Portable was Apple’s first foray into mobile computing. This early laptop, err, luggable, weighed in at 16 lbs due to the 6V sealed lead-acid battery and desktop floppy and hard drives. But because of this, the Snow White designed case is roomy inside and a prime candidate for a overhaul.
My particular Macintosh Portable M5120 is the non-backlit version. It came with one floppy and a hard drive and retailed for $7,300 in 1989. I’ve tried over the course of several years to get this machine working. I’ve replaced the leaky capacitors on the motherboard, cleaned it in an ultrasonic bath several times, and tried two different hybrid modules but nothing was able to get this machine running again.
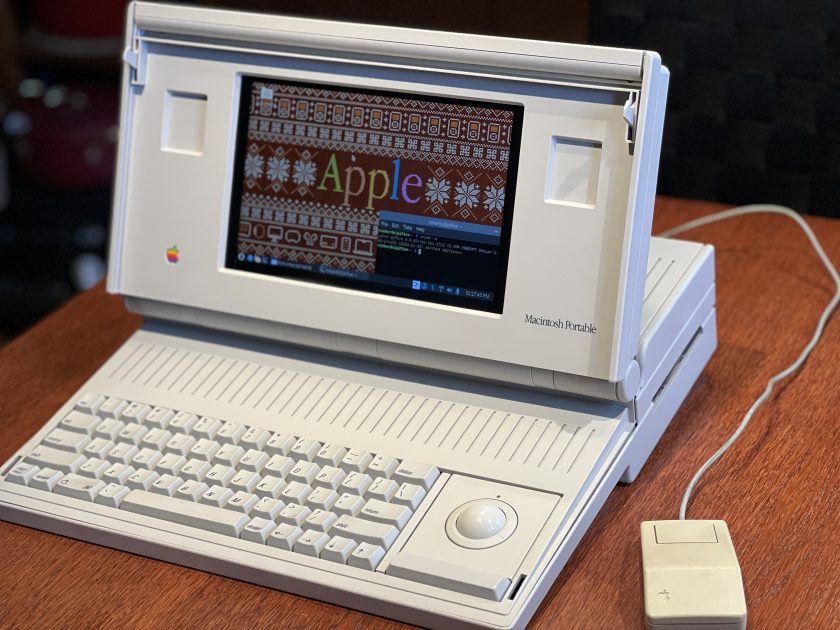
My goal is to give this beautiful machine a new lease on life while at the same time keeping the appearance the same and not making any permanent modifications to the case. I want it to look and work as close to the original Macintosh Portable (including the floppy drive!) while also having the capability of running a modern OS. The internal components have been removed and stored properly in the event there’s a new method for repair in the future.
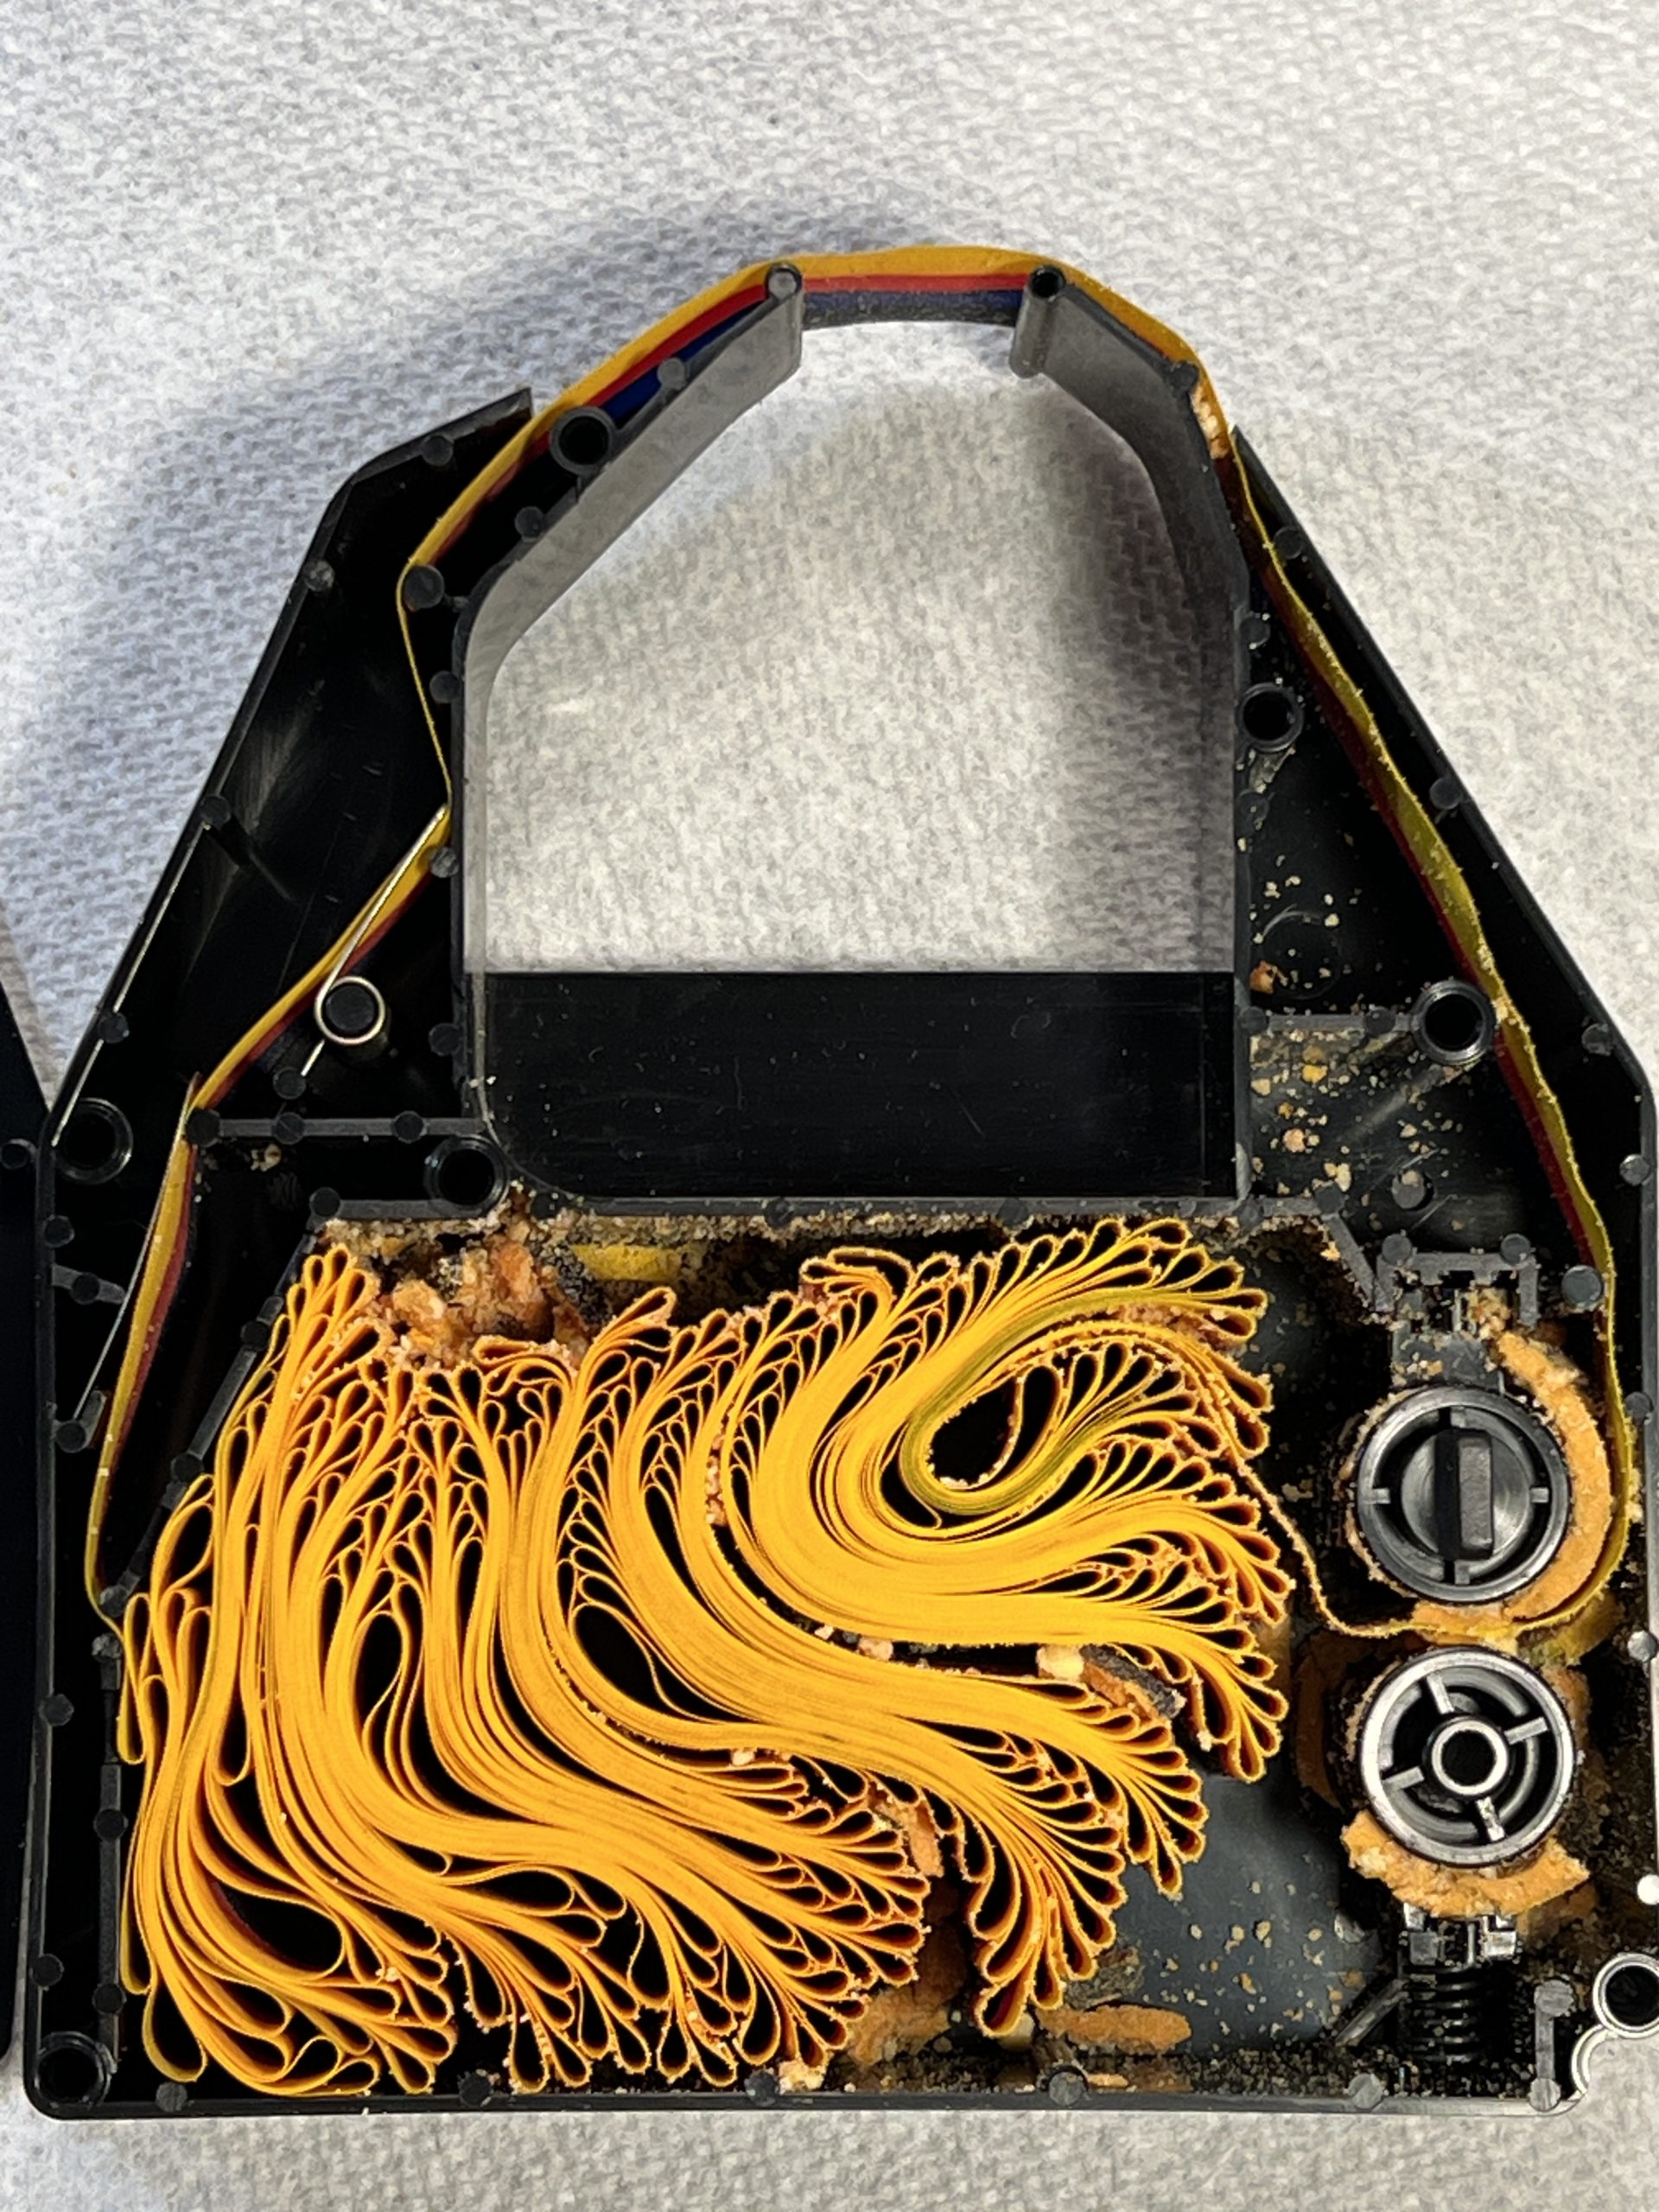
If you’ve attempted to use an original color ribbon in your ImageWriter II recently, you’ve quickly found out that the pinch rollers inside the cartridge have disintegrated over time. More specifically, the foam that goes around the rollers that pull the ribbon through the cartridge have fallen apart and turned to sticky dust.
I recently got a few new NOS color ribbons for my ImageWriter II and I wanted to see if I could salvage them. Sure, brand new ribbons are being made again [MacEffects, $29], but I wanted to see if it was possible to clean these up and get them working again.
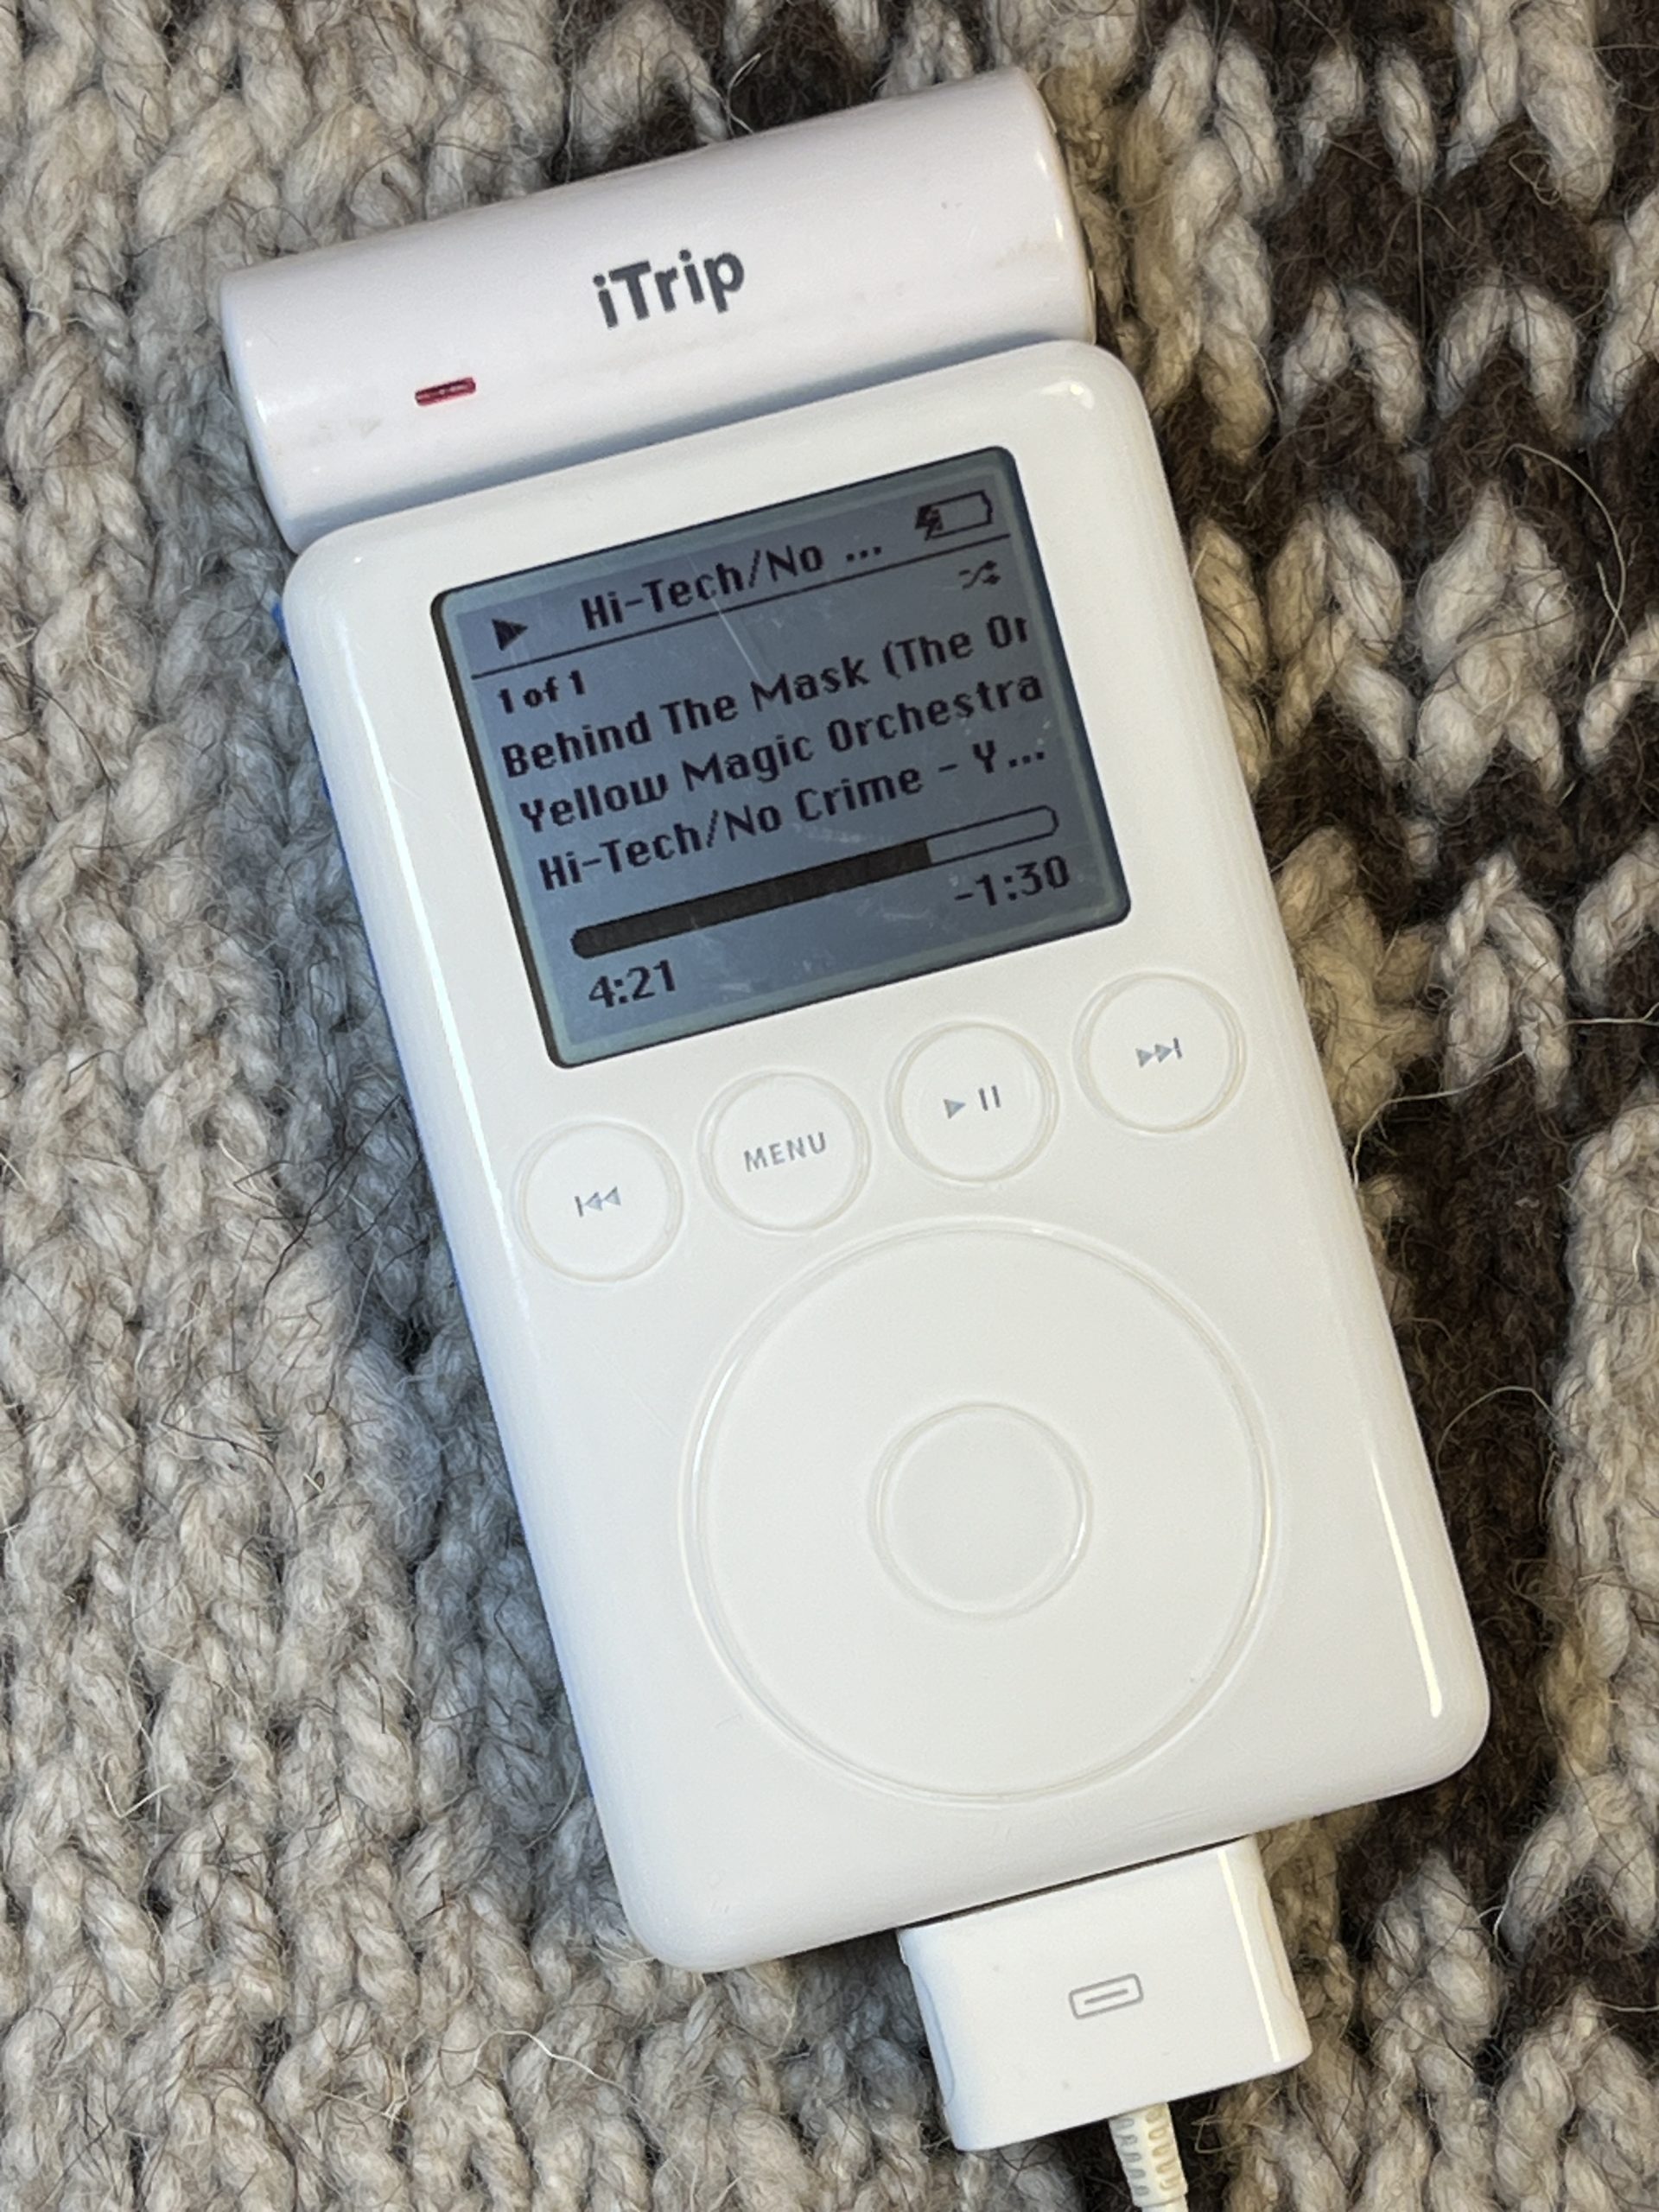
My first iPod was the iPod 3G so I was a little late to the game. I’ve own several iPods after that but the iPod 3G I felt was a perfect distillation of the original iPod experience. Four separate buttons in a row and a touch wheel (nothing moves) seemed like peak iPod design to me (not necessarily UX as you’ll later see).
In this blog post, we’ll cover facts about the iPod 3G, which compact flash and SD adapters work (and which ones don’t), how I prepared my SD card for the iPod, and replacing the battery with a higher capacity one.
My original hard drive no longer works so an update to solid state memory seems like a perfect upgrade.
I recently built QEMU from scratch on the Raspberry Pi 5 and wanted to document my steps. My goal was to run two different Mac emulations: a 68k and PPC Mac, specifically with AppleTalk networking functioning over Ethernet.
If you’re a classic Mac enthusiast, you know that it’s sometimes difficult to enjoy if you don’t have the right tools. Things like the choosing the right system software, the right version(s) of Stuffit Expander, and so forth. Then, getting that software to the machine can be a challenge. Floppy disks are problematic for a number of reasons. Using AppleTalk to connect your classic Mac to a modern network if challenging as support was removed years ago from MacOS X.
Luckily for us, there’s a great pre-made installation called “MacIPRpi” for Raspberry Pi. It delivers a suite of tools that are already configured and ready to use. I’ve used it for a couple of years and it’s worked great. For most folks, this will serve you well!
However, recently I’ve attempted to do certain things it couldn’t handle. This is mainly due to netatalk being updated since the image was created. This blog post contains my notes as I set out to create a newly updated version of this suite of tools from scratch.
Seasoned Apple Macintosh pros have likely experienced the joy (and sadness) of using a large AppleTalk network. You know, the kind where the Chooser suddenly shows a Zone menu at the bottom left where there used to be none? When you first see it, it’s a shock– like you’ve suddenly unlocked a secret power up that your Mac has had all along.
Hayes is best known for modems and for establishing the ubiquitous AT command set as the standard for all modems that followed. Their external modems, made of aluminum, fronted with jewel-like LED status lights were the top shelf of modems. As a kid, Hayes modems were a status symbol. Hayes also made other hardware products like the Chronograph, Transet, and InterBridge all with the same footprint designed to stack on one another– the “Hayes Stack” was a brief marketing campaign.
While you may be familiar with Smartcom, the series of terminal programs for their Smartmodems, you may be surprised to learn that Hayes also created a database application.
What follows is my journey over several months in 2021 in researching, salvaging, repairing, and archiving an unknown piece of computing history.
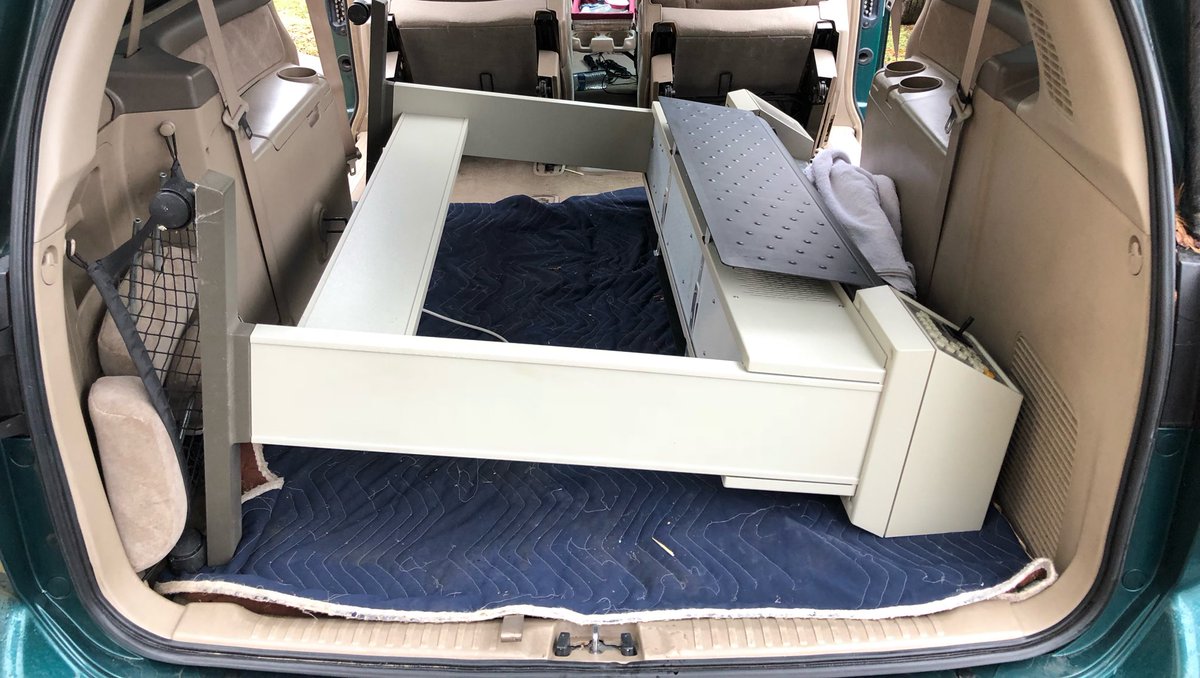
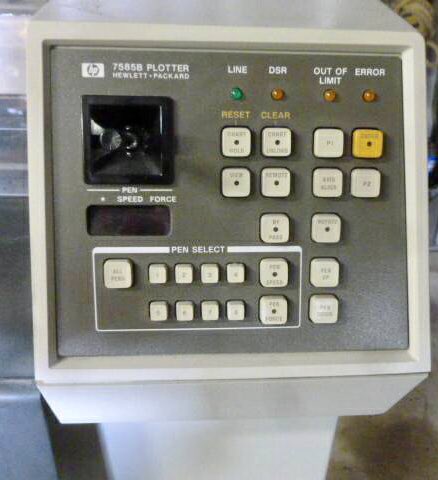
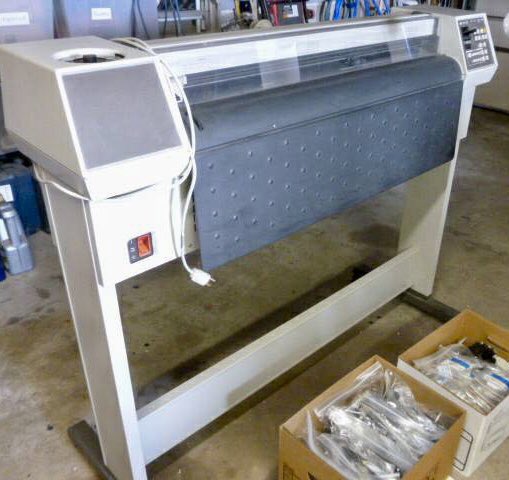
I collect and use a variety of vintage pen plotters. My favorite type are the gantry style which are typically made by Roland. The DXY series of plotters were made to sit on top of a table, either laying flat or at an angle using the provided triangle wedges or built in kick stand.