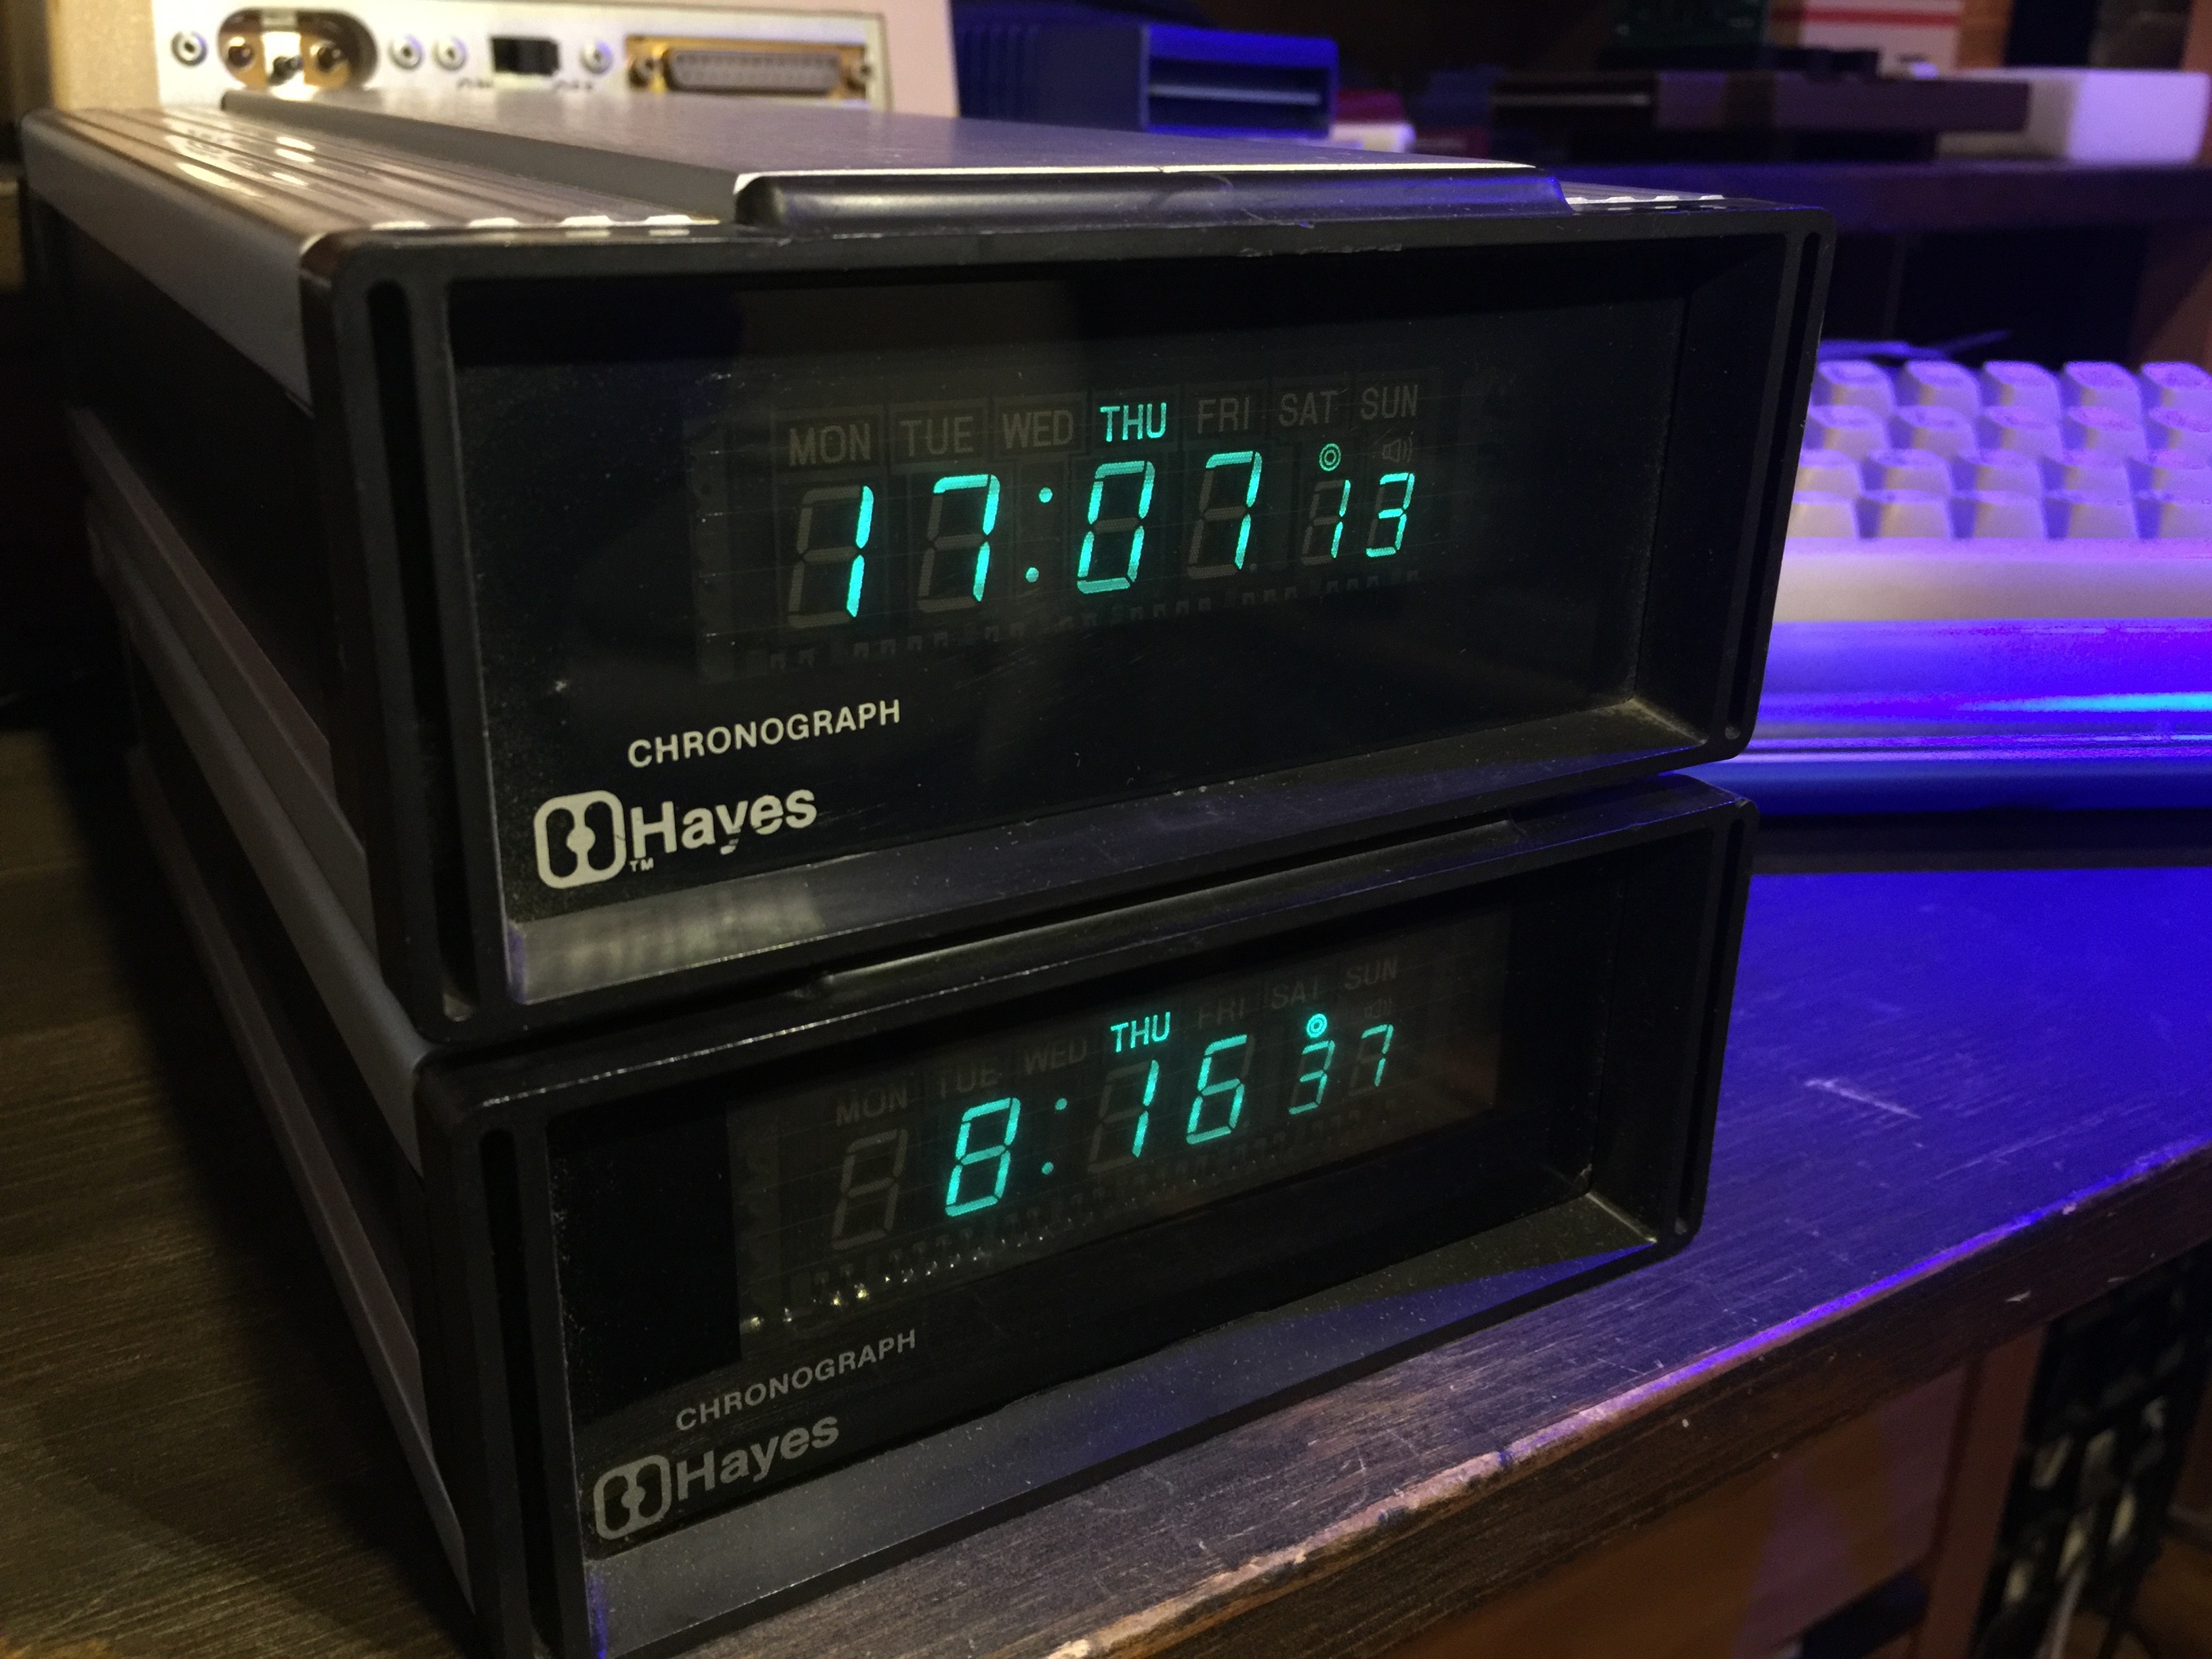
Atari Portfolio Serial Interface: How To Get Terminal Software

I’ve had an Atari Portfolio HPC-004 for a couple of years now. It’s a slick little palm-top: solid state memory, MS-DOS compatible, 4 AA batteries as power source. It also has a docking slot on the right side for extra peripherals. This enables you to add communications ports that are otherwise lacking like a parallel or serial port. I’ve been seeking a second hand serial interface (HPC-102) for some time but have come up empty. I decided to instead purchase one new.

Atari Portfolio and Serial Interface
Continue reading

Convert a Commodore 64 from NTSC to PAL format

If you’ve ever used a NTSC Commodore 64 for any length of time, you’ll quickly find out that many games and demos you try to run on your machine sometimes exhibit strange graphic or sound glitches or just refuse to run properly at all. It’s most likely because the program you’re trying to run was originally written on a PAL machine. With it’s different VIC-II chip generating a different master clock signal, the PAL C64 has a few more cycles available per frame than the it’s NTSC counterpart. Tightly coded loops in programs rely on a certain number of cycles to be available. And when they’re not, well, it doesn’t work as intended.

If you happen to own a C64 “short board” system, you can convert your NTSC machine to a PAL one easy. If you are unsure which board you have inside, you can open it up and take a look or make an educated guess by reading this site. A SID 8580 is usually a good sign you have a short board. But please make sure you confirm your board type before you begin. The VIC-II types (65xx vs 85xx) are not interchangeable!

Continue reading

RS-232 for Commodore PET and Dialing a BBS over WiFi

Commodore PET running WordPro Four Plus.

I’ve owned a Commodore PET* 8032 for a few years now. I’ve been able to download and run many different programs for it, like WordPro you see above. But one thing always remained elusive. I’ve long wanted to connect it to a standard RS-232 device and use it as a terminal. The PET’s classic shape, green monochrome monitor, and 80 column display all lend itself perfectly as a terminal.

Continue reading

LumaFix64: Commodore 64 with less stripes

Commodore 64
You might be asking yourself, less stripes? No, not the colorful stripes on your breadbin badge. We’re talking about the stripes on the video image. The same stripes that we’ve all become accustomed to over the many years of playing Commodore 64 games, watching demos and carrying on with modems and BBS’s. These stripes, which are actually interference, come in a variety of flavors: horizontal, vertical, and checkerboard patterns. The intensity of the stripes also varies from machine to machine. Some say with that these stripes become even more apparent when using a C64 with a modern LCD monitor.

Continue reading

SX-64 Short Expansion Board

SX-64 Expansion Boards, original and new, front and back views.
SX-64 Expansion Boards, new (top) and original (bottom), front (left) and back (right) views.

If you were following along with my previous post about converting an SX-64 to a DX-64 by adding a second floppy drive, you’ll know that the process isn’t without it’s problems. There are some irreversible changes that need to be made to the case to accommodate all the extra equipment.

Continue reading

Converting a Commodore SX-64 to a DX-64 Dual Drive

Commodore DX-64 (converted from SX-64) Many floppy. Very retro. Such storage. Wow. #doge #c64
Commodore DX-64 (converted from SX-64)
Many floppy. Very retro. Such storage. Wow. #doge #c64


The SX-64 was Commodore’s portable version of the best selling C64 computer that wrapped the C64, a 5″ color display and a 1541 floppy drive into one case that loosely resembled a Kaypro. They were also called luggables because, well, they are quite heavy. Despite folks calling them rare, they litter eBay very frequently and command a premium price.

Continue reading

DIY Foam Packaging

It’s time to de-clutter once and again and that means time to visit eBay. First item I’m parting with is a nice Commodore 128 and 1571 disk drive. I have the original box for the CPU but that’s about it for the packaging. I don’t have the original foam sides that held the computer in place (see picture below).

Instead, my computer looks more like this.

I need a good way to keep the computer from getting damaged inside the original box before that box goes in another box– follow me? That got me thinking about the expanding foam in a bag system I’ve seen before. It’s foam that expands inside a plastic bag– place it inside the box and close the lid and it fills the voids and holds everything in place. I wondered if a can of “Good Stuff” expanding foam insulation would work. I picked up a can (large gap filler) for a $5er.

I have these nice cardboard corners as starting points– but they’re a little big. My plan was to fill the corners with foam, put a bag over it and put the computer inside it and let the foam do it’s magic. The results so far look promising.


Some things I’ve noticed–

  • It expands slowly, so don’t rush, you’ve got hours before it cures.
  • Make sure to put at least two pieces of plastic between the foam and your object to keep it safe.
  • Don’t over do it– remember, it will expand.
  • Wear gloves!
  • Some areas seem to be taking a long time to cure. The bottle says water speeds the process.