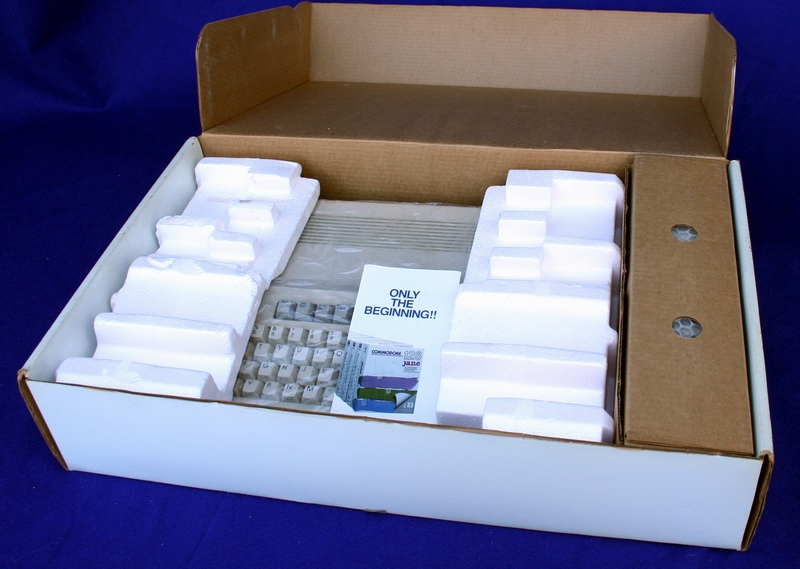
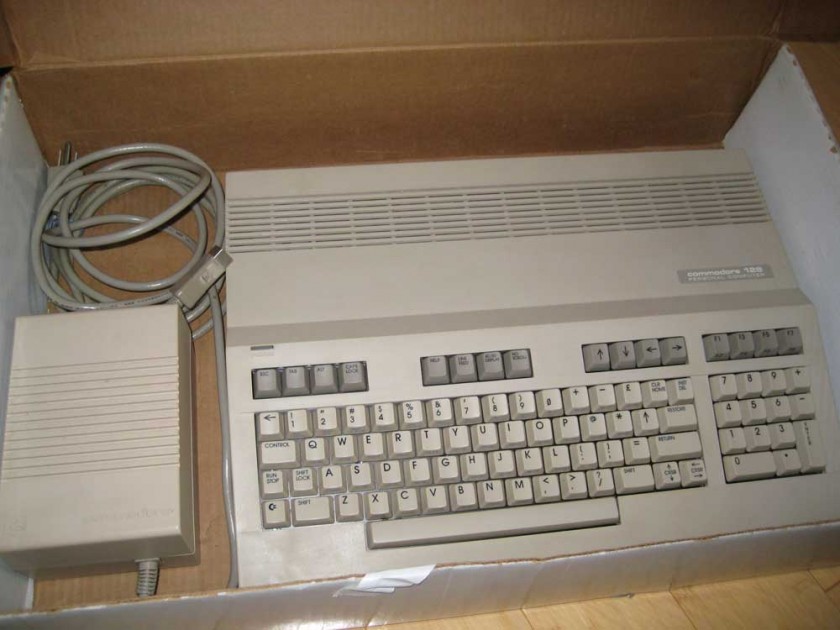
It’s time to de-clutter once and again and that means time to visit eBay. First item I’m parting with is a nice Commodore 128 and 1571 disk drive. I have the original box for the CPU but that’s about it for the packaging. I don’t have the original foam sides that held the computer in place (see picture below).

Instead, my computer looks more like this.

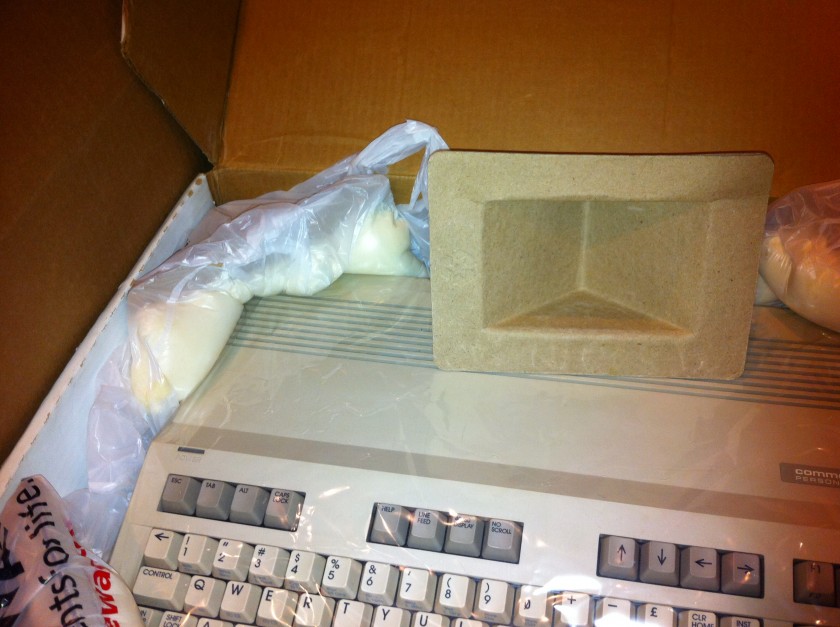
I need a good way to keep the computer from getting damaged inside the original box before that box goes in another box– follow me? That got me thinking about the expanding foam in a bag system I’ve seen before. It’s foam that expands inside a plastic bag– place it inside the box and close the lid and it fills the voids and holds everything in place. I wondered if a can of “Good Stuff” expanding foam insulation would work. I picked up a can (large gap filler) for a $5er.
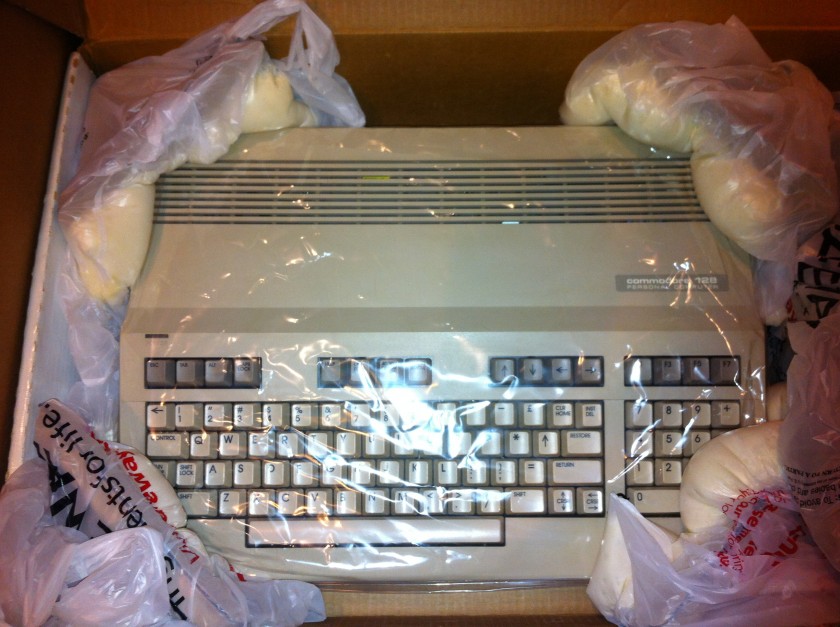
I have these nice cardboard corners as starting points– but they’re a little big. My plan was to fill the corners with foam, put a bag over it and put the computer inside it and let the foam do it’s magic. The results so far look promising.


Some things I’ve noticed–
- It expands slowly, so don’t rush, you’ve got hours before it cures.
- Make sure to put at least two pieces of plastic between the foam and your object to keep it safe.
- Don’t over do it– remember, it will expand.
- Wear gloves!
- Some areas seem to be taking a long time to cure. The bottle says water speeds the process.
Stephen Miller
February 1, 2012 at 9:32amI found this page while surfing looking for info about packaging solutions. That was for my business, but on a personal level I’m somewhat of an ebayer myself, buying and occasionally selling online. Thanks for the information, it’s good to have the practical side of packaging for online sales laid out.